

")
")
")
")
Sale!

- Quick View
- Select options This product has multiple variants. The options may be chosen on the product page
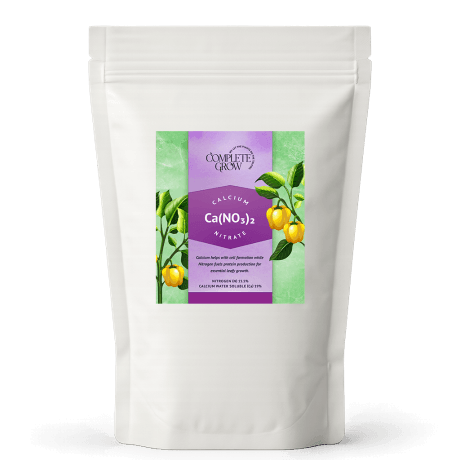
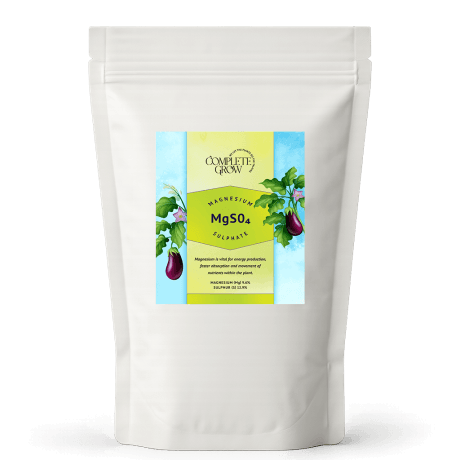
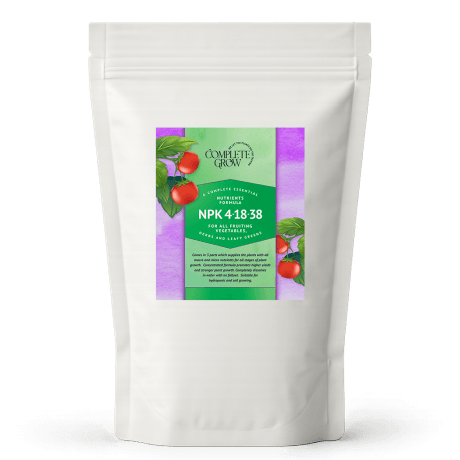
Advanced Formula – Boost Flowering & Fruiting – NPK 4-18-38 + Calcium & Magnesium
Price range: $39.80 through $387.00
Sale!


- Quick View
- Select options This product has multiple variants. The options may be chosen on the product page
🌟40% OFF🌟 All Purpose Plant Liquid Fertiliser – Formulated from NPK 20-20-20 & Micro Nutrients
Price range: $34.00 through $258.80
 (1)")
10
Jul

05
Jul
The Biggest Mistakes People Make With Fertiliser
16 Comments
")
30
Jun

11
May
Different NPK Ratios: Fertiliser Guide
16 Comments